Summary: This article explains how setting up your Google Business Profile can strengthen your online presence and credibility, and provides a step-by-step guide to help you complete your profile successfully.
Your Google Business Profile increases your online visibility and brand recognition. It’s how clients find you when they search for your services on Google. Setting it up correctly makes it easier for clients to connect with you and enhances your trustworthiness and professionalism.
Follow the six simple steps below to set up your Google Business Profile with confidence:
The process is divided into six clear steps:
- Getting Started
- Signing In
- Business Details
- Contact Information
- Verification
- Optimization
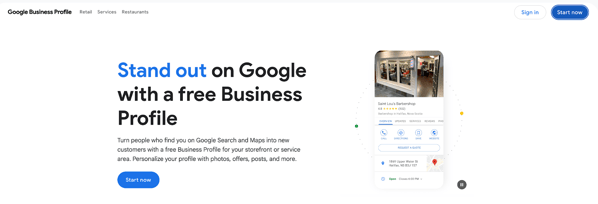
Step 1: Getting Started
How to Access Your Google Business Profile
- Turn on your computer and make sure you have a stable internet connection.
- Open your internet browser (Chrome, Edge, or Safari).
- Go to the search bar at the top of the page you’ve opened, and copy and paste this link: https://www.google.com/business.
- Click enter.
- Click the blue button that says Start now/Manage now. This will take you to the setup page where you can create a new profile or manage your existing one.
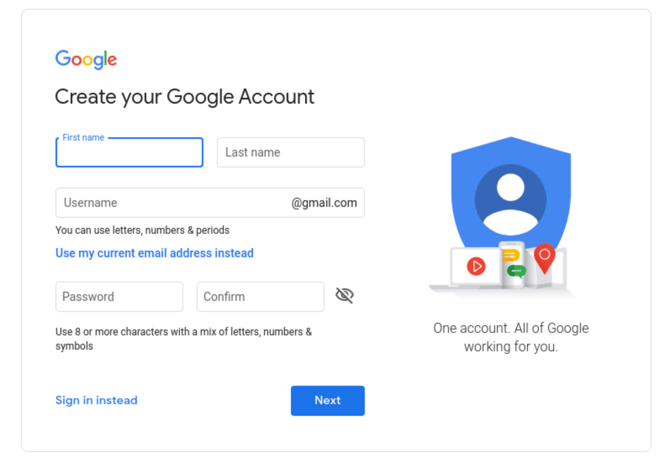
Step 2: Signing In With Google
Use Your Professional Email
- A new page will open, and you will be asked to sign in with a Google account.
- Note: If you’re already signed in, it will skip the sign in step and take you straight to the Enter your business details page
- Enter your Google account’s email address and password in the designated fields. Use your professional business email.
- For example: john@prosperadvisory.com.
- If you don’t already have a Google account, please follow this guide.
TIP: Write down your login details somewhere safe so you don’t forget them.
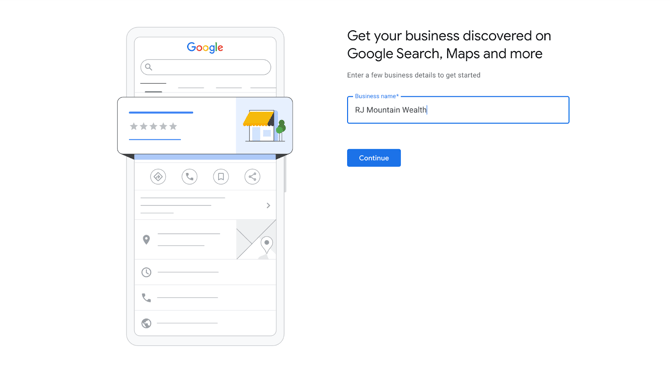
Step 3: Business Details
Now, it’s time to add your main business details.
Business Name
-
Type your full business name, exactly as it appears on your documents.
-
For example: Prosper Financial Advisory.
-
- If your business name doesn’t appear in the dropdown list, instead select Add your business to Google.
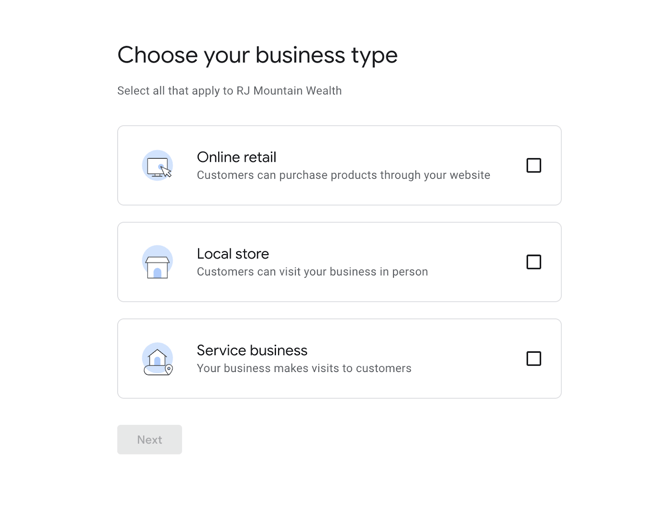
Business Type
- Select Service business (recommended for financial advisors).
- If clients regularly visit your office, you can instead choose Local store and add your address. Avoid Online retail.
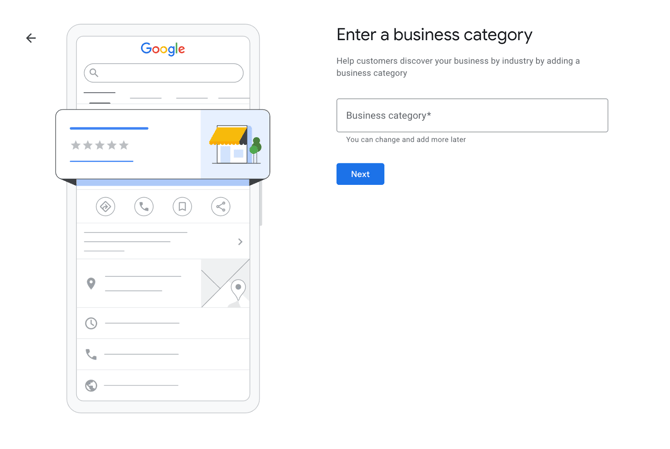
Business Category
- Start typing Financial Advisor.
- If the term Financial Advisor doesn’t appear, choose the closest match, such as Wealth Management Advisor or Financial Consultant.
- This category helps Google show you to the right people.
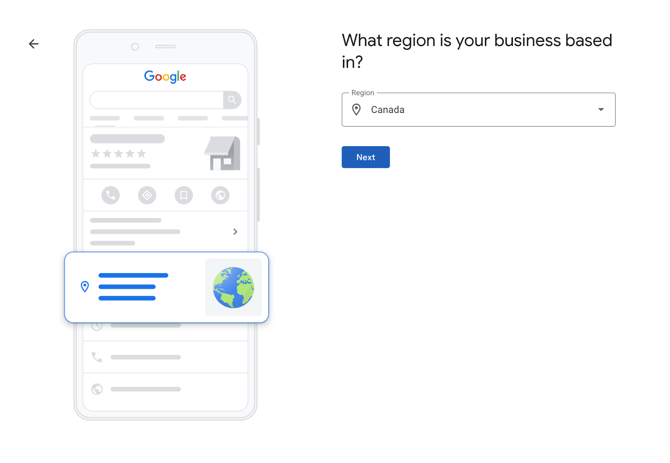
Business Location
-
If you have a physical office space where clients visit you, enter your full office address.
-
If you travel to clients, or work virtually, choose I deliver goods and services to my customers and add your region (such as Toronto, Mississauga, or Ontario).
Step 4: Contact Information — How Clients Reach You
- Phone number: Add the number where new clients can reach you directly.
- Website: Type in your website URL.
- Example: www.prosperadvisory.ca.
TIP: Double-check that your phone number and website are correct, so that potential clients can contact you directly.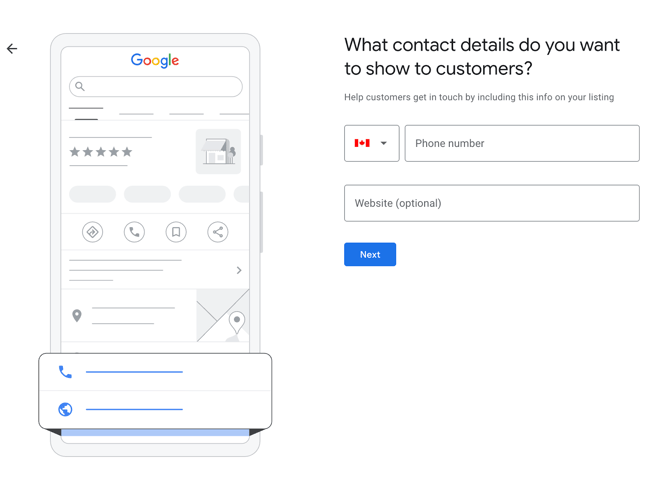
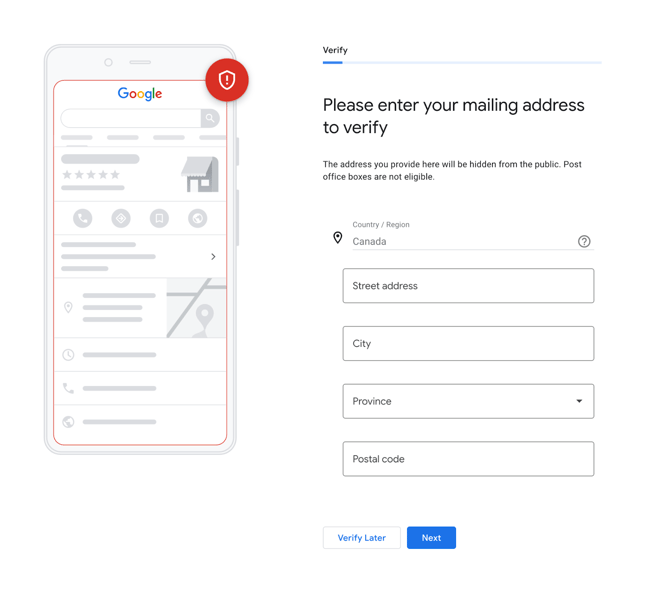
Step 5: Verification — Confirming Your Business
Before your profile shows up on Google, you will need to prove you’re the business owner.
Google may give you one or more of the following options for verification:
- Postcard: Google mails a postcard with a code to your business address.
- When it arrives (usually within five business days) sign back in and enter the code.
- Phone call: Some advisors can verify instantly with an automated call.
- Email: In some cases, verification can be completed via your email address.
TIP: Google automates and randomizes their verification method between email, phone, or postcard, but the postcard method is most common. Be patient and keep the postcard safe until you enter the code. If your postcard does not arrive after 14 days, please contact Google Help.
Step 6: Optimization — Making Your Profile Stand Out
Once you’re verified, you can make your profile look professional and client-friendly. Simply sign in and follow these steps:
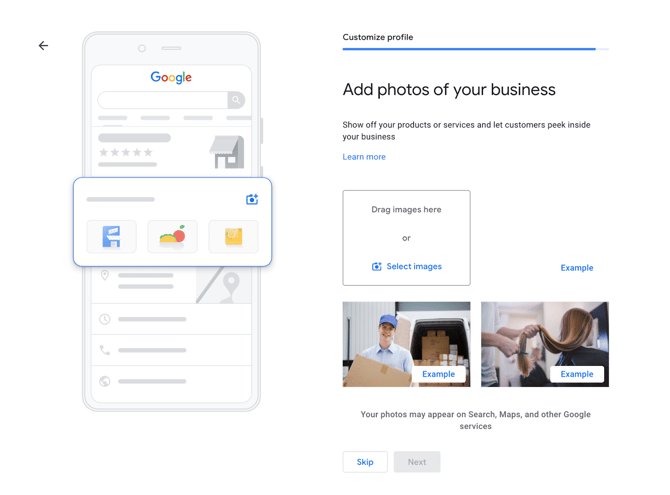
Add Photos
- A recent, professional headshot of yourself.
- A clear picture of your office with your signage fully visible.
- Make sure the image isn’t blurry.
- Take the photo in daylight, with ideal lighting.
- Your business name should be readable.
- Avoid reflections or glares.


- Your business logo.
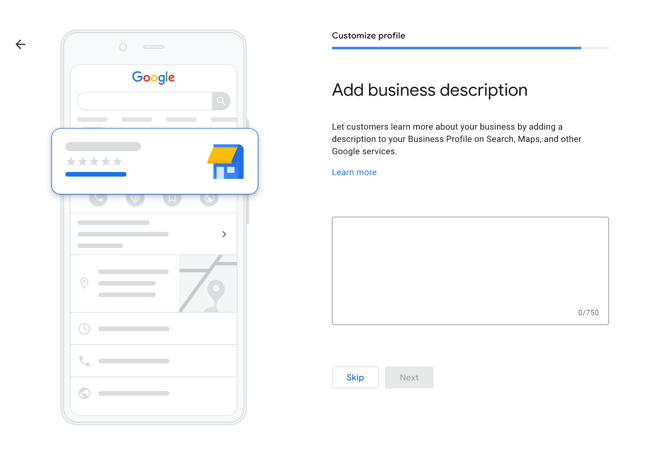
Write a Clear Business Description
- Example: “I help families and individuals with retirement planning, investment advice, and financial security. With over 15 years of experience, I focus on personalized strategies to help clients achieve their financial goals.”
- Avoid giving excessive information that might be irrelevant to what your business does. Clear and concise is best.
Add Services
- Will & Estate Planning
- Insurance Solutions
- Financial Planning & Investing
- Loans & Mortgages
- Tax Planning & Preparation
Set Business Hours
- Add the times you’re available to take calls or meet with clients.
- Update these if your hours change (for example, during holidays).
TIP: Think of your profile as your “digital storefront.” The more complete and polished it looks, the more likely new clients will contact you.
Final Reminder
- Always keep your profile up-to-date.
- Respond to any client reviews or questions (this shows you’re active and engaged).
- Review your profile every few months to make sure nothing is outdated (for example: contact details, business address, or hours, if they’ve changed).